
02. Installation
Installing Laravel
Quick Installation
If you have already installed PHP and Composer on your local machine, you may create a new Laravel project via Composer:
composer create-project laravel/laravel chirperFor simplicity, Composer's create-project command will automatically create a new SQLite database at database/database.sqlite to store your application's data. After the project has been created, start Laravel's local development server using the Laravel Artisan's serve command:
cd chirper php artisan serveOnce you have started the Artisan development server, your application will be accessible in your web browser at http://localhost:8000.
Installation via Docker
If you do not have PHP installed locally, you may develop your application using Laravel Sail, a light-weight command-line interface for interacting with Laravel's default Docker development environment, which is compatible with all operating systems. Before we get started, make sure to install Docker for your operating system. For alternative installation methods, check out our full installation guide.
The easiest way to install Laravel is using our laravel.build service, which will download and create a fresh Laravel application for you. Launch a terminal and run the following command:
curl -s "https://laravel.build/chirper" | bashSail installation may take several minutes while Sail's application containers are built on your local machine.
By default, the installer will pre-configure Laravel Sail with a number of useful services for your application, including a MySQL database server just in case you decide to use MySQL instead of SQLite. You may customize the Sail services if needed.
After the project has been created, you can navigate to the application directory and start Laravel Sail:
cd chirper ./vendor/bin/sail upWhen developing applications using Sail, you may execute Artisan, NPM, and Composer commands via the Sail CLI instead of invoking them directly:
./vendor/bin/sail php --version./vendor/bin/sail artisan --version./vendor/bin/sail composer --version./vendor/bin/sail npm --versionOnce the application's Docker containers have been started, you can access the application in your web browser at: http://localhost.
Installing Laravel Breeze
Next, we will give your application a head-start by installing Laravel Breeze, a minimal, simple implementation of all of Laravel's authentication features, including login, registration, password reset, email verification, and password confirmation. Once installed, you are welcome to customize the components to suit your needs.
Laravel Breeze offers several options for your view layer, including Blade templates, Livewire, or Vue and React with Inertia.
Open a new terminal in your chirper project directory and install your chosen stack with the given commands:
composer require laravel/breeze --dev php artisan breeze:install livewirecomposer require laravel/breeze --dev php artisan breeze:install livewire-functionalNow, we just need to start the Vite development server to automatically recompile our CSS and refresh the browser when we make changes to our Blade templates:
npm run devIf you refresh your new Laravel application in the browser, you should now see a "Register" link at the top-right. Follow that to see the registration form provided by Laravel Breeze.
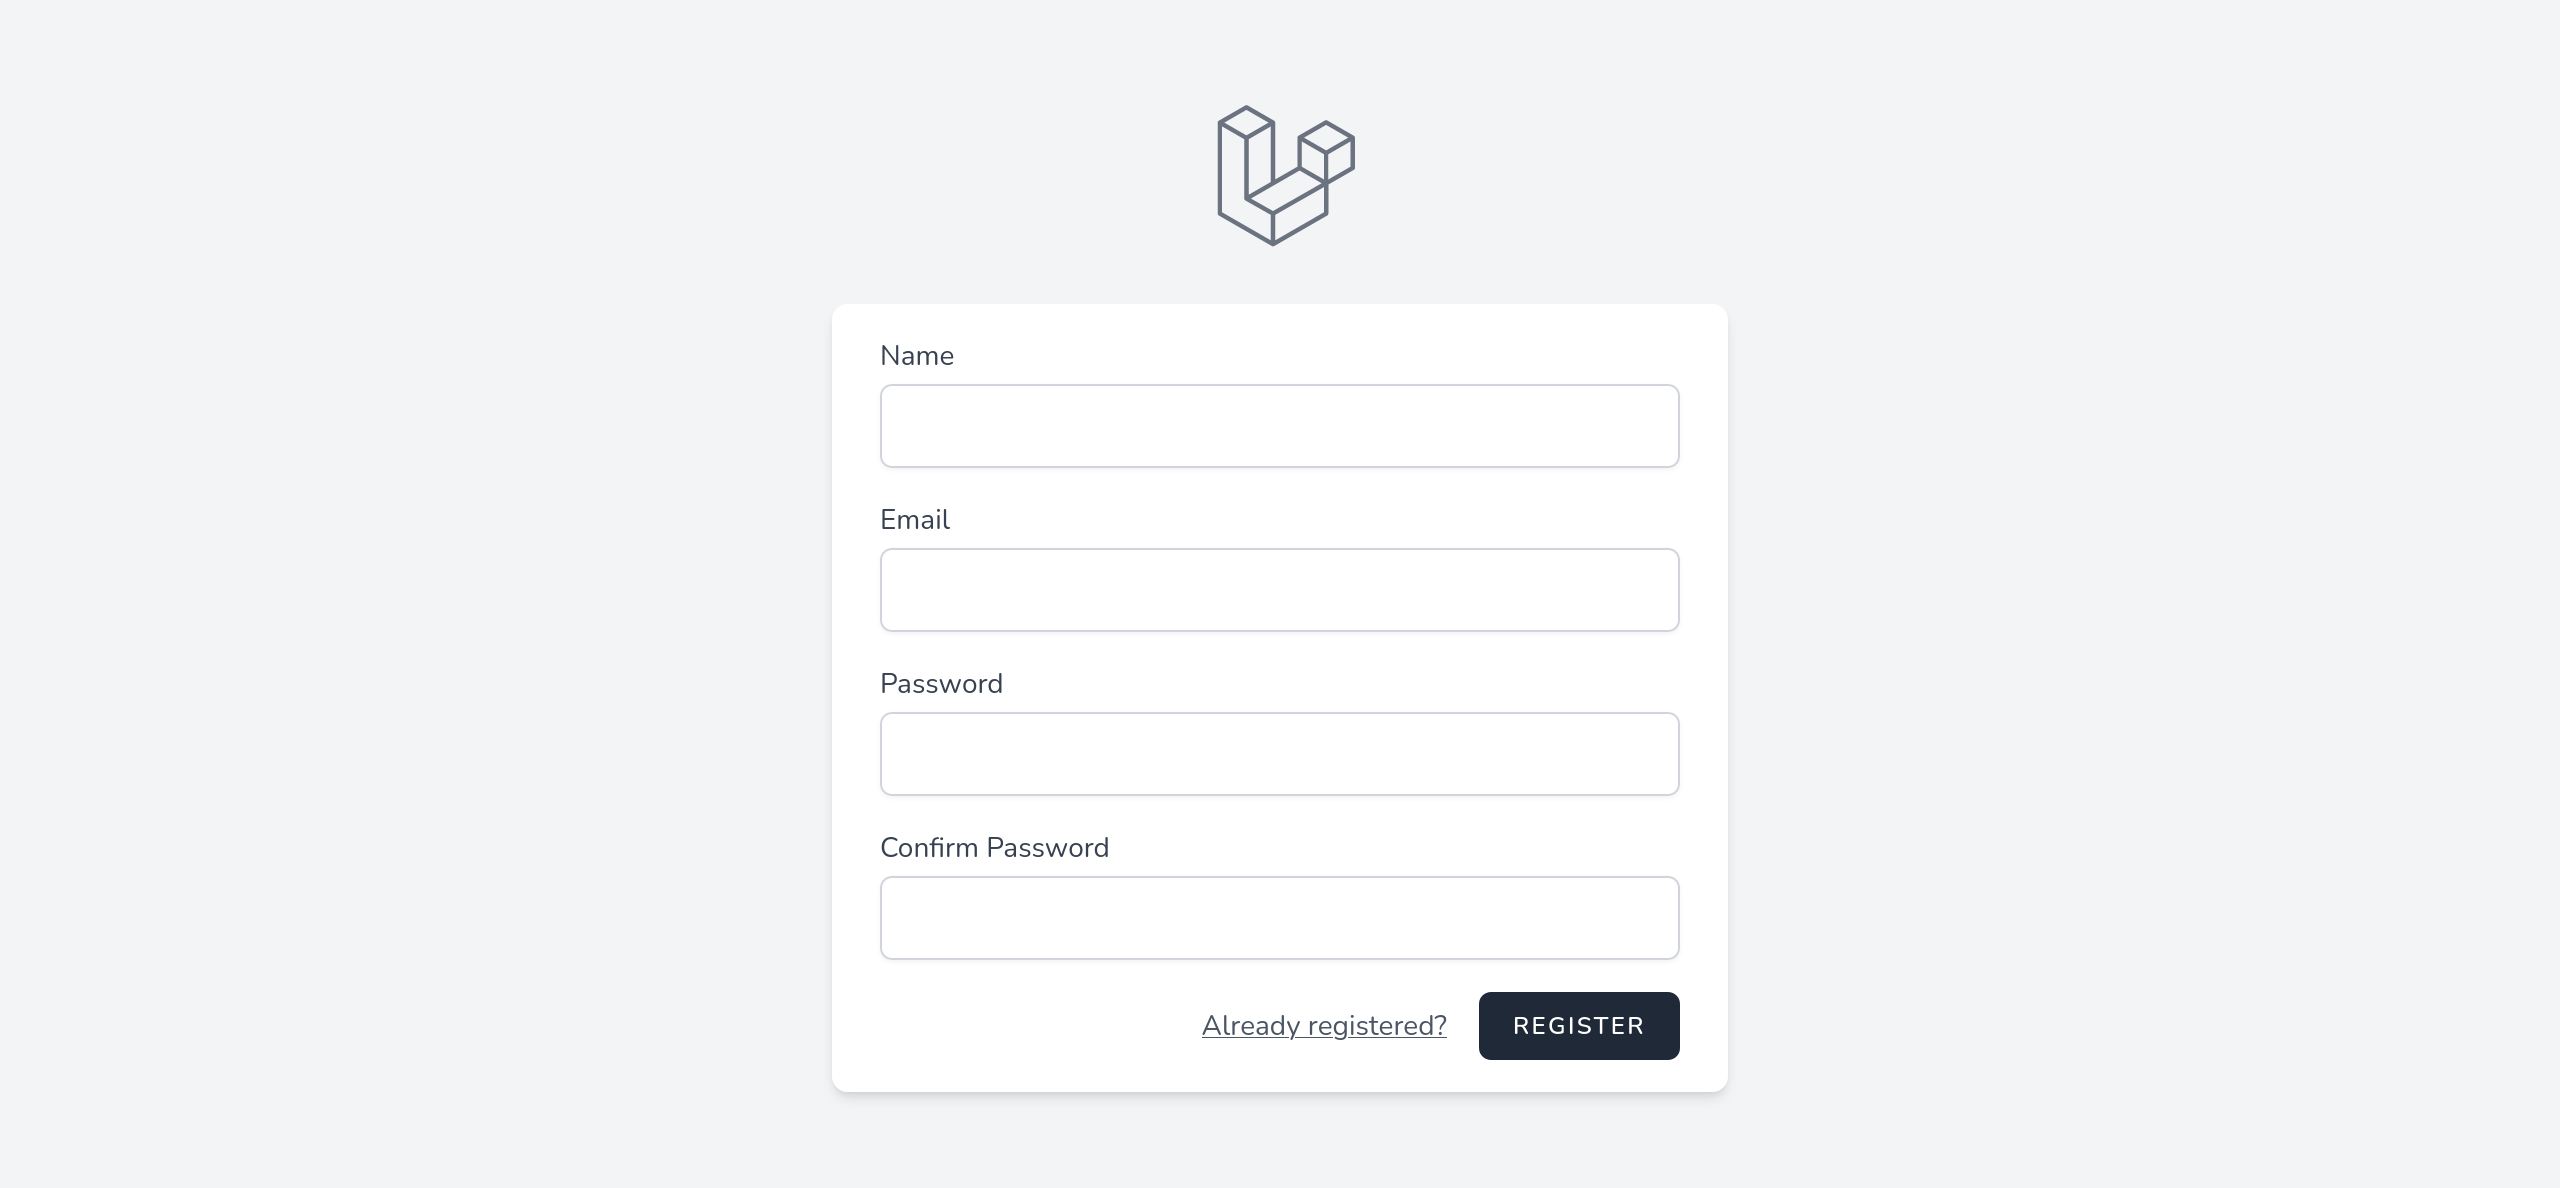
Register yourself an account and log in!